Because last week's escapade with Iron Man went so well, I've decided I'd like to mess with Captain America next. I'm going to be adding a new insignia to him. I found a lovely vector graphic made by someone online, and it is exactly what I need.

Unfortunately, they made it in Adobe Illustrator, and GIMP doesn't like .ai files. I can't even see it in the "open" dialogue. :-(
But if I change the setting from "All Images" to "All Files"...

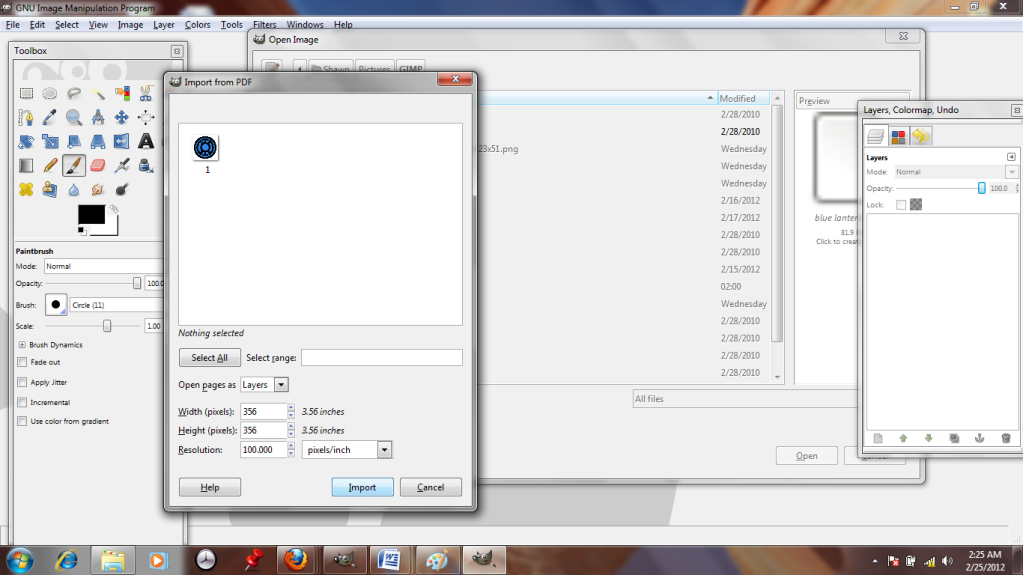
It suddenly appears. GIMP can read it like a .pdf, as long as I convert it. Hooray!
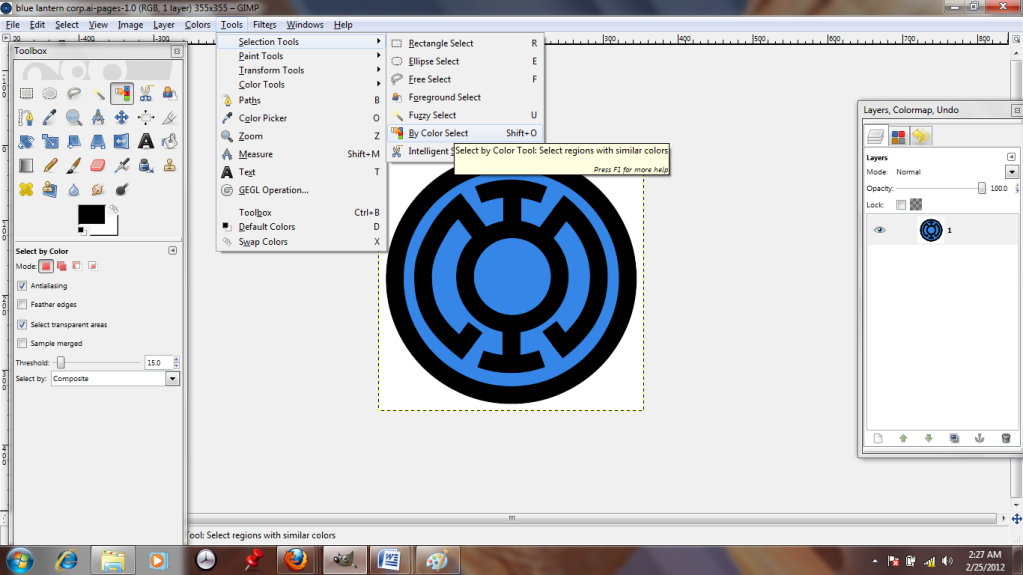
It's a nice image, but I don't want the whole thing, just the black parts, so I'm going to use the "color select" tool to pick those out. Just click it, then click the black regions.
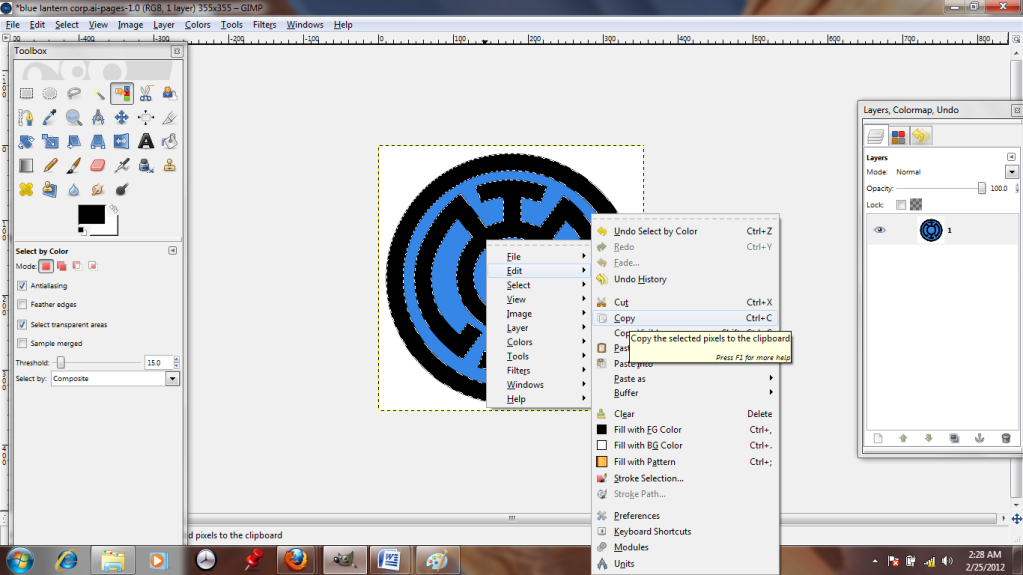
The selected regions are surrounded by white dotted lines. I right-click and copy the parts I want; they're now stored in my clipboard.
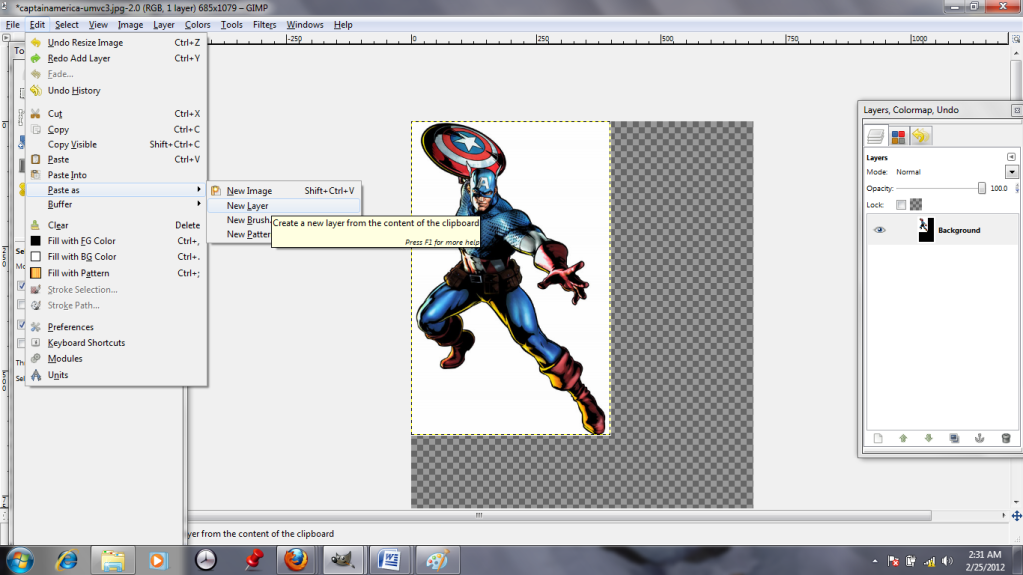
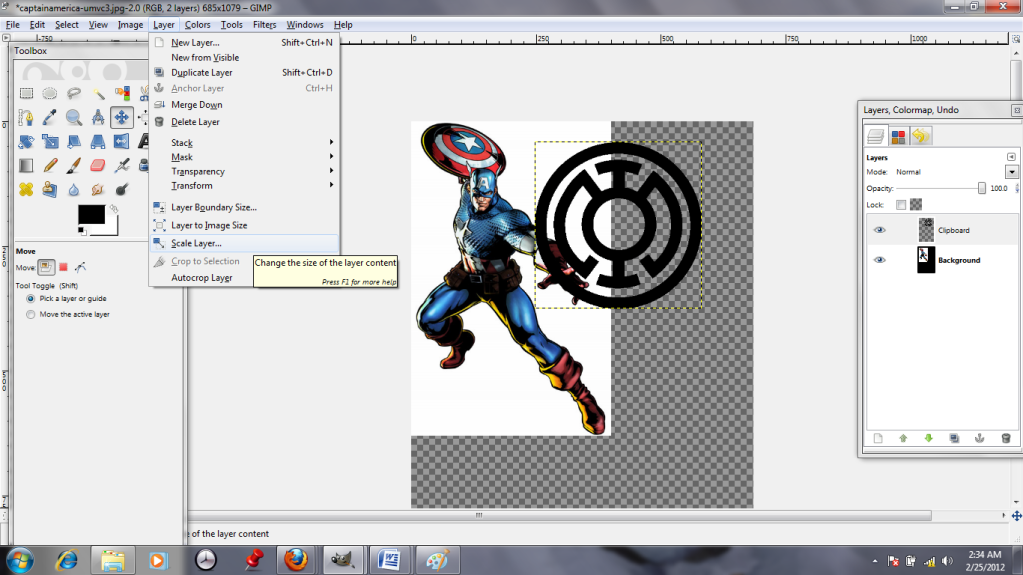
Captain America apparently took posing lessons from his good friend Iron Man, I notice! I'm going to paste the black outline in as a New Layer.
Pasting it as a new layer ensures that I can do whatever I want to the insignia without harming Cap, who is my background layer.
It's pasted in, all right, but it's enormous! The "Scale Layer" tool lets me toggle the size up and down...
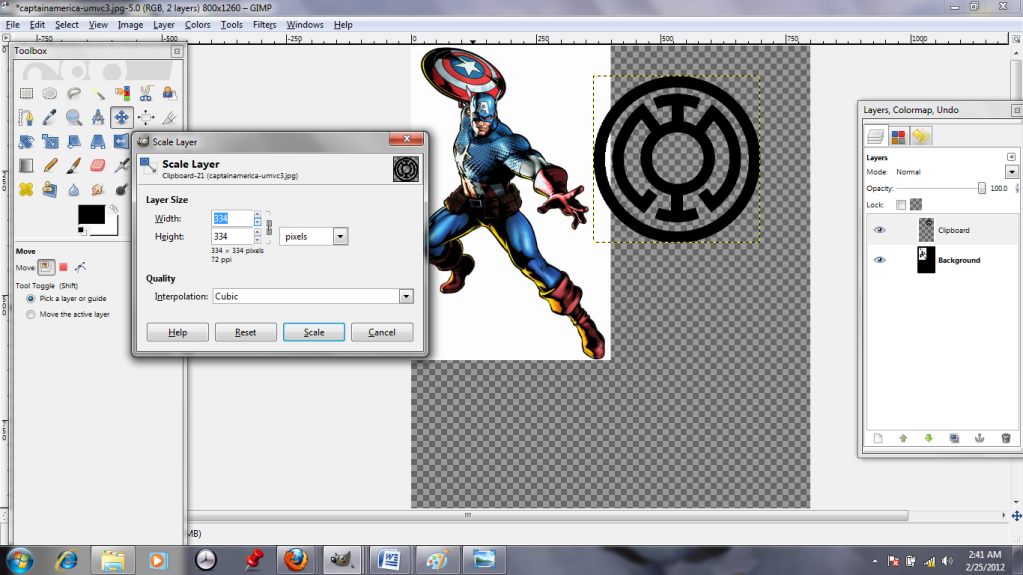
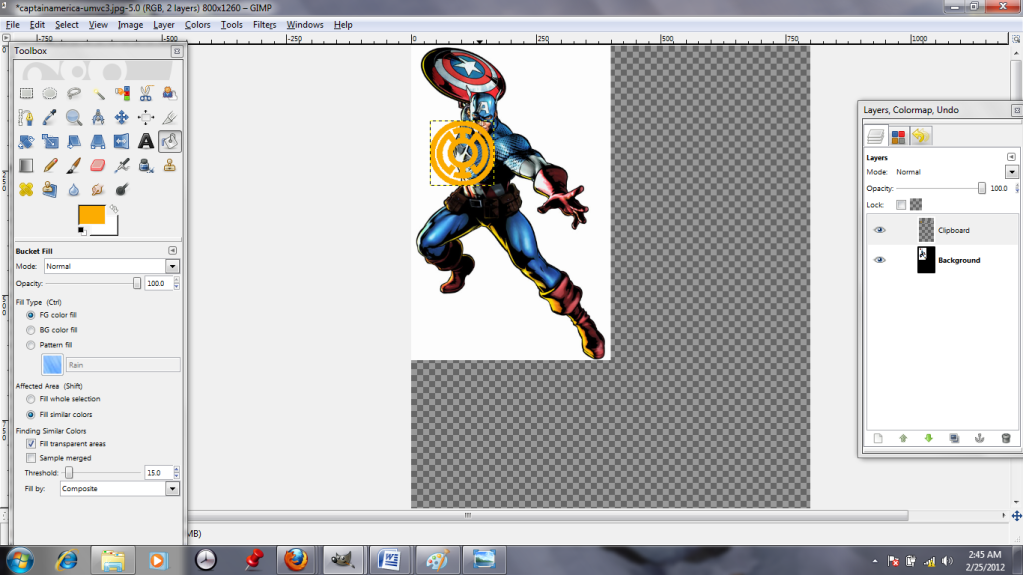
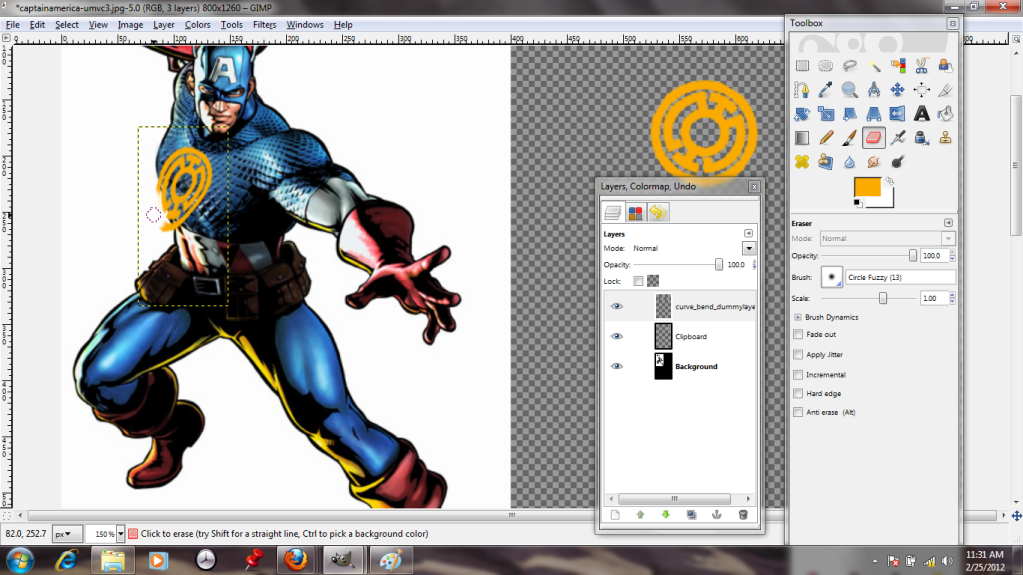
...I just play with it until it looks about right. (The insignia will also be orange from now on, for the sake of visibility.)
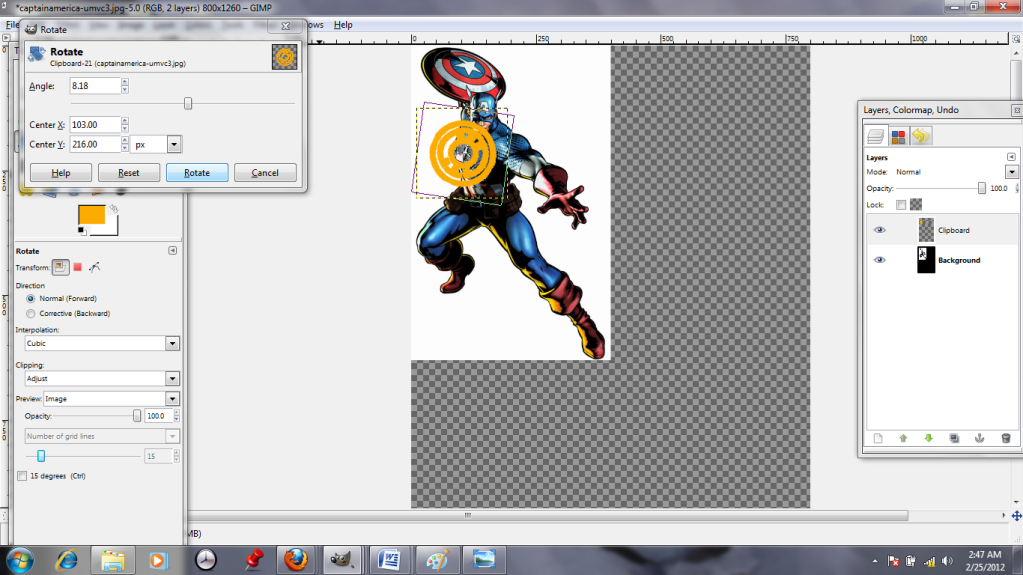
The "Rotate" tool, 3 down on the far left of the toolbox, allows me to twist the layer like I'm spinning a record. This is helpful, because Cap's chest is angled. I use his star as a guide to eyeball the appropriate tilt. Then I scoot that layer over and select the background; I need to do some cloning. Will humanity never learn from Reed Richards' mistakes!? (No, not that kind of cloning. I promise, no robot Thors.)

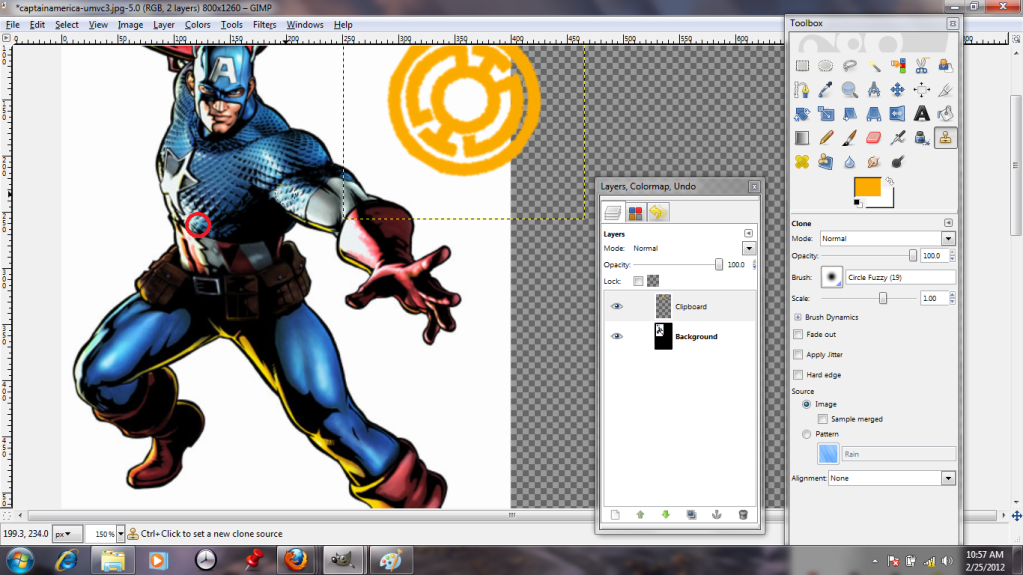
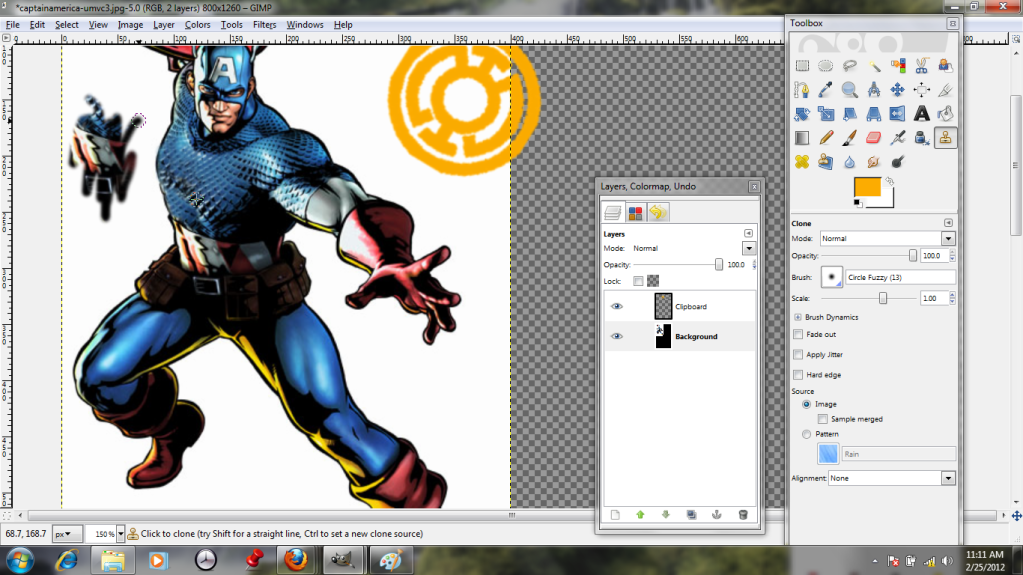
The "Clone" tool is pretty neat. It allows me to select one area (seen here with a red circle added,) and use that as a paintbrush. This way, I can hide Cap's star with cloned chain mail, as long as I am careful to pluck bits from regions that will reasonably match the light and shadow.
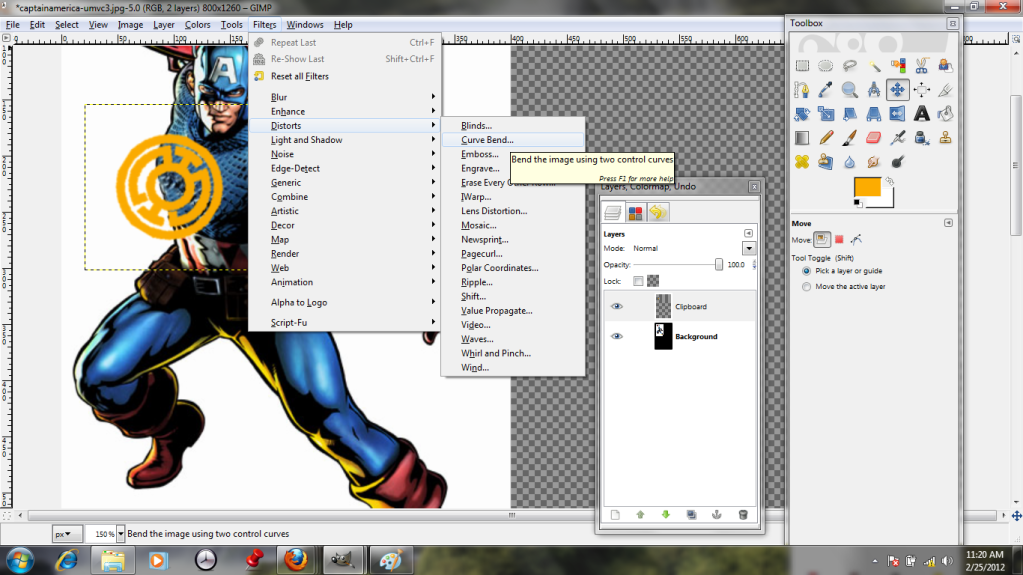
Unfortunately, tilting the insignia wasn't really enough to make it look like it conforms to the shape of his chest. It needs to curve and bend. Shockingly, the best tool for the job is the "Curve Bend" tool!
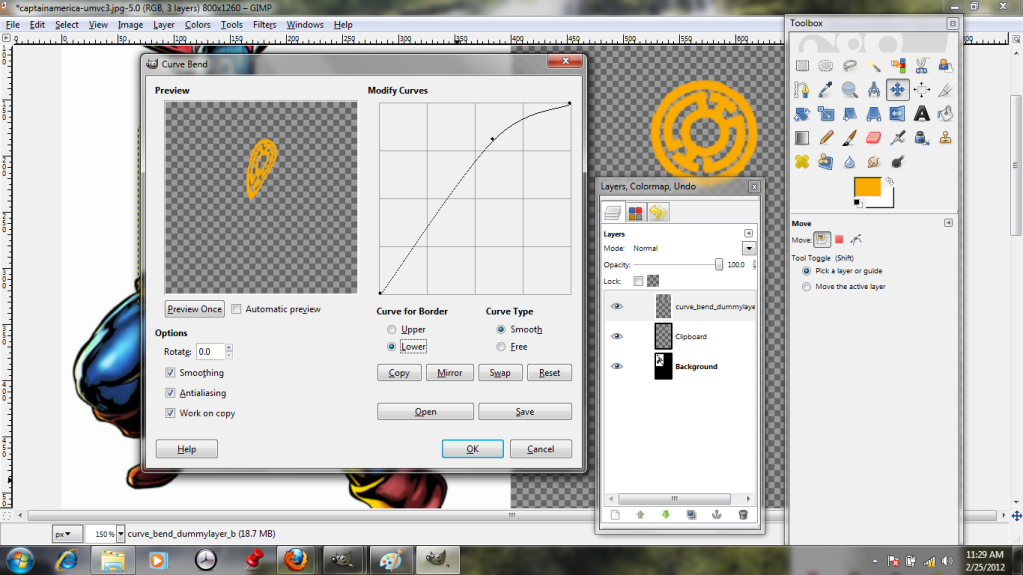
By playing with the curve in this dialogue, I can stretch and warp the layer like taffy until I get the shape I want. The preview allows me to see what I'm doing, and hopefully to avoid messing it up too much. I've also clicked the option to work with a copy, which means my original layer remains untouched.
Et voila-- it looks more three-dimensional. I cheat and erase the bits that hang off his body, because "Curve Bend" can't extrapolate that there's a guy there and hide the bits that would be covered.
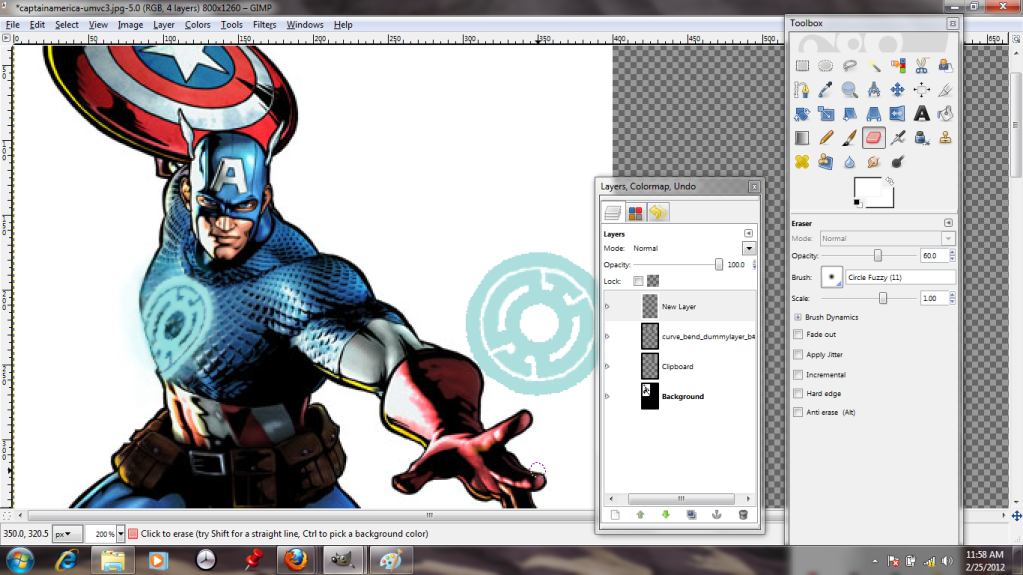
This is my correctly-colored version, with a bit of glow painted on to another new layer (the better to take it off later!)
Naturally, I save this as a GIMP file and exit.
Spectacular! I only found your post as I wanted to know about opening .ai files with Gimp, but I ended up reading the whole post and learning about the Curve Bend tool. Two lessons for the price of one. Thanks!
ReplyDeleteSame here!
ReplyDeletean binh city
ReplyDelete